Are you looking to take your audio system to the next level? If so, then you may want to consider using a crossover in conjunction with two amplifiers.
By using two amplifiers with a crossover, you can create a bi-amped or tri-amped system, which delivers more power and precision to each speaker.
This setup is ideal for those who want to optimize their audio system’s performance and achieve the best sound possible.
However, connecting a crossover to two amplifiers can be a daunting task if you don’t know where to start.
That’s why In this post, we’ll explain what a crossover is, why you should use an amp and crossover setup, and, most importantly, how to connect a crossover to two amplifiers. Let’s get started!
Also Read:
- Strapping Non Strappable Amps : How To Do This?
- How To Bridge 2 Amps Together- All You Need To Know!
- Tapped Horn VS Folded Horn Subwoofer (Main Difference?)
Briefly Explain What A Crossover Is And Why It’s Important For Audio Systems.
A crossover is an electronic device used in audio systems that separates an audio signal into different frequency bands and sends them to the appropriate speakers.
This ensures that each speaker is only producing the frequencies it’s designed to handle, resulting in better sound quality and less distortion.
Crossovers can be passive or active and can be adjusted to different frequency ranges depending on the specific setup.
They are an essential component of any high-quality audio system because they help to optimize the performance of the speakers and prevent damage or reduced lifespan.
Without a crossover, all frequencies would be sent to each speaker, causing them to work harder than necessary and potentially leading to damage.
Overall, a crossover is crucial in creating a balanced and high-quality sound in any audio system.
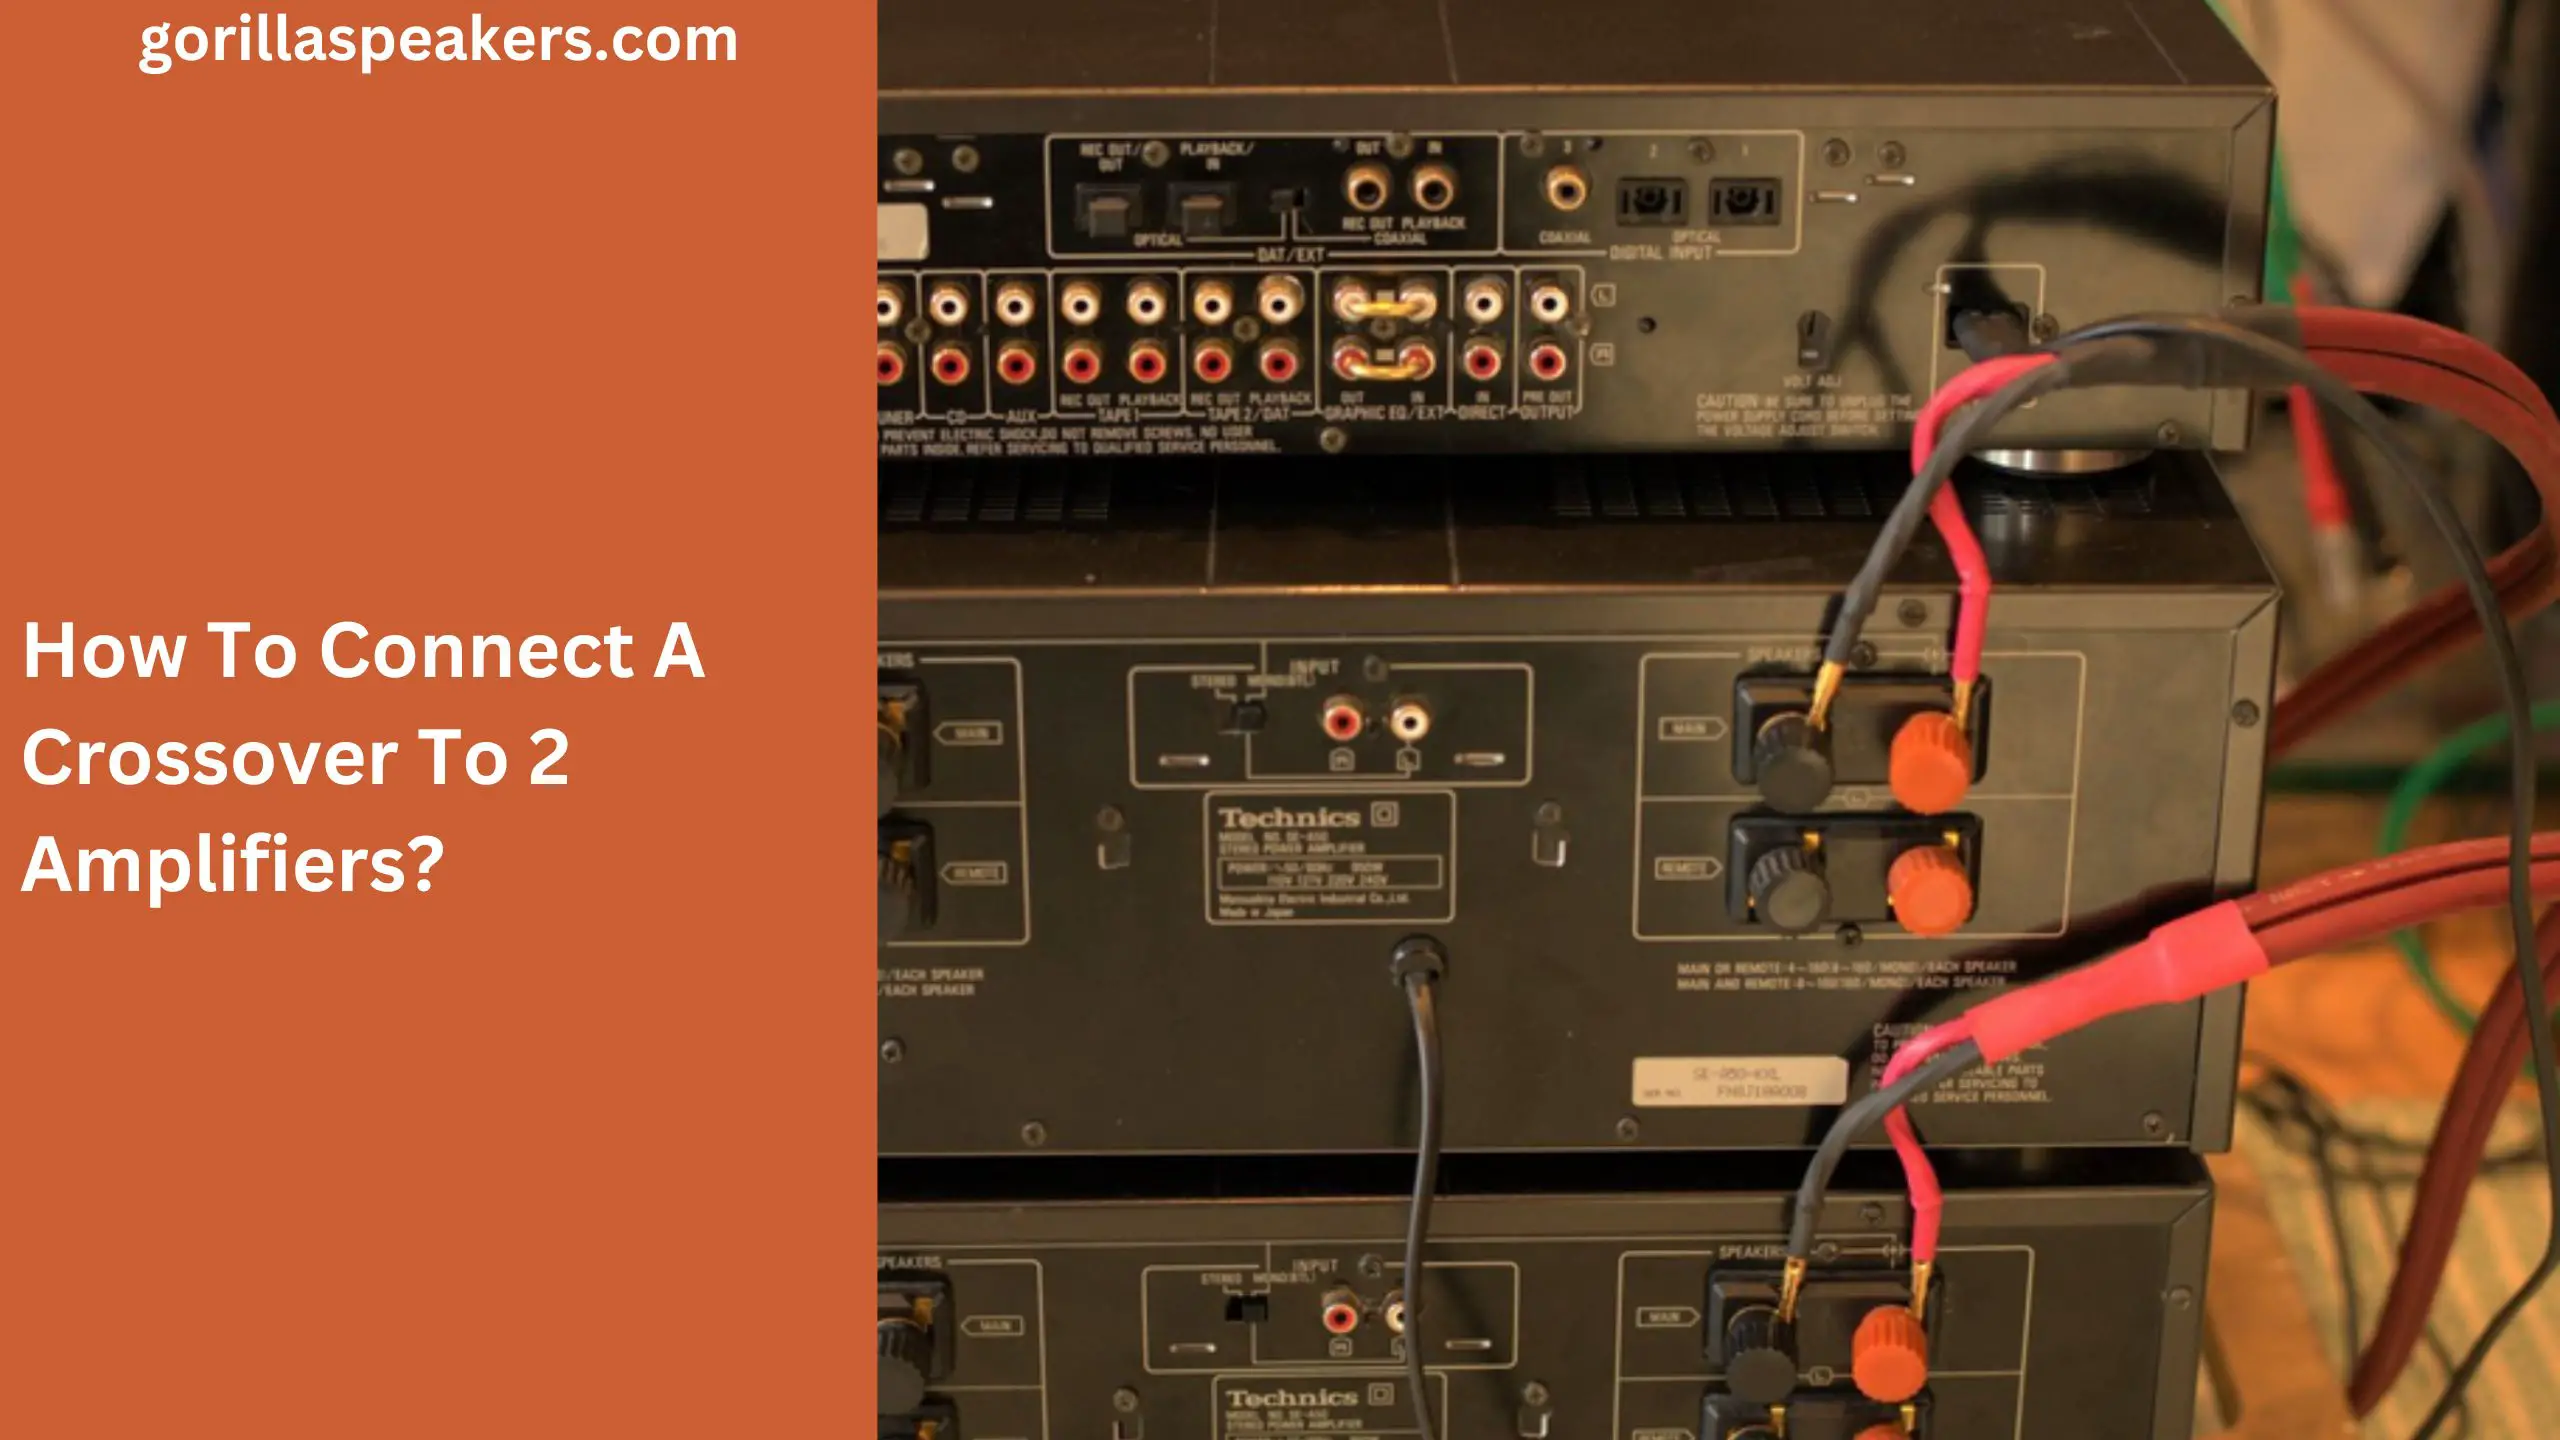
How To Connect A Crossover To 2 Amplifiers?(Step-By-Step)
Connecting a crossover to two amplifiers can be done to create a bi-amplification or tri-amplification setup, where each amplifier powers a specific frequency range of speakers (e.g., tweeters, midrange drivers, and subwoofers).
Materials You’ll Need:
- Crossover unit (active or passive, depending on your setup).
- Two amplifiers.
- Speaker wires.
- RCA cables (if using a passive crossover).
- Source audio components (e.g., head unit, preamp, or mixer)
- Wire stripper and cutter
Steps:
Here’s a step-by-step guide on how to connect a crossover to two amplifiers:
1- Turn Off And Unplug All Equipment:
Before starting, make sure that all equipment is turned off and unplugged to avoid any risk of electrical shock.
2- Position Your Equipment:
Set up your amplifiers, speakers, and crossover in a suitable location.
Ensure that each amplifier is connected to its respective set of speakers (e.g., one for tweeters, one for midrange, etc.).
3- Identify Crossover Inputs and Outputs:
Your crossover should have input and output sections for each frequency band (e.g., high-pass and low-pass for a two-way crossover). Some crossovers may have dedicated subwoofer outputs.
4- Connect the Source Audio Component:
If you’re using a passive crossover, connect your source audio component (e.g., head unit) to the crossover’s input using RCA cables. Connect the left and right channels appropriately.
5- Connect Crossover to Amplifiers:
Take the output from the high-pass section of the crossover (typically for tweeters and midrange drivers) and connect it to the input of one amplifier.
Take the output from the low-pass section of the crossover (typically for subwoofers) and connect it to the input of the other amplifier.
6- Amplifier Settings:
Adjust the settings on each amplifier to match the speakers they are powering. For example, if one amplifier is for tweeters, set it to provide higher frequencies, and if the other is for subwoofers, set it to provide lower frequencies.
7- Connect The Power Cables:
Connect each amplifier to a power source using the power cables. Make sure to follow the manufacturer’s instructions for power requirements and safety precautions.
8- Connect The Speakers:
Using high-quality speaker wires, connect the speakers to the output terminals of the amplifiers.
Ensure that the cables are connected with the correct polarity, the positive terminal of the speaker is connected to the positive terminal of the amplifier, and the negative terminal of the speaker is connected to the negative terminal of the amplifier.
9- Turn On The Equipment:
Turn on the audio source, the crossover, and the amplifiers, and adjust the volume levels to a comfortable level.
10- Adjust The Crossover Settings:
Adjust the crossover settings to your desired sound quality. You may need to adjust the crossover frequency and slope to get the best sound for your speakers.
11- Secure Wiring:
Ensure that all connections are secure and neatly organized to avoid any interference or accidental disconnections.
By following these steps, you can successfully connect a crossover to two amplifiers in your audio system, allowing for a more tailored and optimized sound reproduction.
Why Connect A Crossover To Two Amplifiers?
Connecting a crossover to two amplifiers is done in order to improve the sound quality of an audio system.
This is particularly beneficial for high-end audio systems where sound quality is a top priority.
By using separate amplifiers for different frequency ranges, each amplifier can be optimized to produce the best sound quality for its specific frequency range.
For example, a high-pass amplifier can be optimized to produce clear and accurate mid and high-frequency signals, while a low-pass amplifier can be optimized to produce clear and powerful bass frequencies.
By using a crossover to separate the audio signal into different frequency bands, each amplifier can be designed and optimized to produce the best sound quality for its specific frequency range, resulting in a more accurate and detailed sound.
Another reason to connect a crossover to two amplifiers is that it can be more efficient in terms of power consumption.
When a single amplifier is used to power a full-range speaker, it has to handle all frequencies, including the bass frequencies that require more power.
By using a low-pass amplifier to power the bass frequencies, it can handle the extra power requirements, while the high-pass amplifier can be optimized for the mid and high frequencies, resulting in more efficient use of power.
Overall, connecting a crossover to two amplifiers is a popular setup for high-end audio systems that prioritize sound quality and efficiency.
By using separate amplifiers for different frequency ranges, each amplifier can be optimized for its specific frequency range, resulting in improved sound quality and more efficient use of power.
Explain The Benefits Of Using Two Amp And Crossover Setup
Using a two-amp and crossover setup can provide several benefits for an audio system, including improved sound quality and efficiency. Here are some of the benefits of this setup:
1- Improved Sound Quality:
By using separate amplifiers for different frequency ranges, each amplifier can be optimized to produce the best sound quality for its specific frequency range.
For example, a high-pass amplifier can be optimized to produce clear and accurate mid and high-frequency signals, while a low-pass amplifier can be optimized to produce clear and powerful bass frequencies.
By using a crossover to separate the audio signal into different frequency bands, each amplifier can be designed and optimized to produce the best sound quality for its specific frequency range, resulting in a more accurate and detailed sound.
2- More Efficient Power Usage:
When a single amplifier is used to power a full-range speaker, it has to handle all frequencies, including the bass frequencies that require more power.
By using a low-pass amplifier to power the bass frequencies, it can handle the extra power requirements, while the high-pass amplifier can be optimized for the mid and high frequencies, resulting in more efficient use of power.
3- Increased Flexibility:
Using two amplifiers with a crossover allows for greater flexibility in designing and configuring an audio system.
Different amplifiers can be selected and configured for different frequency ranges, providing more control over the overall sound quality of the system.
Discuss The Types Of Audio Systems That Benefit From This Setup, Such As Bi-Amped Or Tri-Amped Systems.
Bi-amped and tri-amped audio systems are particularly well-suited to benefit from using two amplifiers with a crossover.
In a bi-amped system, two amplifiers are used, one for the high frequencies and one for the low frequencies.
In a tri-amped system, three amplifiers are used, one for the high frequencies, one for the mid-range frequencies, and one for the low frequencies.
By using a crossover to separate the audio signal into different frequency ranges, each amplifier can be optimized for its specific range, resulting in a more accurate and detailed sound.
Overall, using two amplifiers with a crossover can provide several benefits for an audio system, including improved sound quality, more efficient power usage, and increased flexibility in configuring the system.
Bi-amped and tri-amped audio systems are well-suited to take advantage of this setup.
How To Connect Crossover To Mixer And Amplifier?
Connecting a crossover to a mixer and amplifier requires a few additional steps compared to connecting it directly to two amplifiers.
Here’s a step-by-step guide on how to connect a crossover to a mixer and amplifier:
1- Turn Off All Equipment:
Before you begin connecting any cables, make sure all equipment is turned off to prevent any damage or interference.
2- Connect The Mixer To The Crossover:
Use balanced XLR cables to connect the mixer’s main output to the crossover’s input.
The main output of the mixer usually provides a full-range signal, which will be split by the crossover into different frequency ranges.
Make sure to connect the left and right outputs of the mixer to the corresponding inputs on the crossover.
3- Connect The Crossover To The Amplifiers:
Use balanced XLR cables to connect the crossover’s outputs to the inputs of the amplifiers.
Make sure to connect the left and right outputs of the crossover to the corresponding inputs on the amplifiers.
4- Adjust The Crossover Settings:
Once all connections are made, turn on the equipment and adjust the settings on the crossover.
Set the crossover frequency and slope according to the speakers and amplifiers being used.
It’s important to set the crossover frequency correctly to avoid overlapping frequencies, which can cause distortion and other sound quality issues.
5- Adjust The Mixer Levels:
With the crossover settings adjusted, you can adjust the mixer levels to balance the different frequency ranges.
Use the mixer’s EQ and fader controls to adjust the levels of the different frequency ranges, and use a sound meter or audio analysis software to make sure each range is at the appropriate level.
6- Test And Fine-Tune The System:
After making all connections and adjustments, test the system with different types of audio material to make sure everything is working properly.
You may need to fine-tune the system further based on the room’s acoustics and personal preferences.
By following these steps, you can connect a crossover to a mixer and amplifier to optimize the sound quality of your audio system.
How To Connect The Dbx Crossover To The Amplifier?
To connect a DBX crossover to an amplifier, you will need the following equipment:
- DBX crossover unit
- Amplifier(s)
- Balanced XLR cables
- Speaker cables
Here are the steps to connect a DBX crossover to an amplifier:
1- Power Off All Equipment:
Before connecting any cables, make sure all equipment is turned off to avoid any potential damage.
2- Connect The Input Signal:
Use a balanced XLR cable to connect the audio source (e.g., mixer, preamp) to the input of the DBX crossover.
3- Set The Crossover Frequency:
Using the DBX crossover controls, set the crossover frequency and slope based on the frequency response of the speakers and amplifiers being used.
It’s important to set the crossover frequency correctly to avoid overlapping frequencies, which can cause distortion and other sound quality issues.
4- Connect The Output To The Amplifier(S):
Using balanced XLR cables, connect the output of the DBX crossover to the input(s) of the amplifier(s).
Connect the high-pass output to the amplifier that will handle the mid and high frequencies and the low-pass output to the amplifier that will handle the bass frequencies.
5- Connect The Speakers To The Amplifier:
Use speaker cables to connect the speakers to the amplifier. Make sure to connect the speakers to the appropriate outputs on the amplifier based on the frequency range being handled.
6- Power On The Equipment:
Turn on the DBX crossover and the amplifier(s).
7- Test And Adjust The System:
Play different types of audio material to test the system and adjust the levels as needed.
Use the DBX crossover controls to fine-tune the crossover frequency and slope, and use the amplifier’s controls to adjust the levels of the different frequency ranges.
By following these steps, you can connect a DBX crossover to an amplifier and optimize the sound quality of your audio system.
FAQs
How To Connect Two Amplifiers To One Crossover?
To connect two amplifiers to one crossover, you will need to use the two sets of outputs on the crossover.
Connect one set of outputs to one amplifier using balanced XLR cables and connect the other set of outputs to the other amplifier using another set of balanced XLR cables.
Make sure to set the crossover frequency and slope based on the speakers and amplifiers being used.
How To Connect Two Amps To One Mixer?
To connect two amps to one mixer, use two sets of balanced XLR cables to connect the mixer’s main outputs to the inputs of each amplifier.
Make sure to set the levels on both amplifiers accordingly to avoid any clipping or distortion.
How Do You Use Two Amplifiers At Once?
To use two amplifiers at once, you can either use a crossover to split the audio signal between the amplifiers, or you can connect one amplifier to handle the low frequencies.
And the other to handle the mid and high frequencies using a passive or active speaker crossover.
Can You Wire Two Amps Together?
Yes, you can wire two amps together in a number of ways, including using a Y-splitter cable to split the audio signal between both amps, using a mixer to send audio to both amps, or using a crossover to split the audio signal based on the frequency range.
Can I Connect Two Amplifiers To 1 Speaker?
No, you should not connect two amplifiers to 1 speaker, as this can cause damage to both the amplifier and the speaker.
You should always connect one amplifier to one speaker or use a passive or active speaker crossover to split the audio signal between multiple amplifiers and speakers.
How To Connect Two Amps With One RCA?
To connect two amps with one RCA cable, you will need to use a Y-splitter cable to split the audio signal from the RCA output.
Connect one end of the Y-splitter to the RCA output and the other two ends to the inputs of each amplifier.
Make sure to set the levels on both amplifiers accordingly.
How Do I Split My Audio Signal Into Two Amps?
You can split your audio signal to 2 amps using a Y-splitter cable or a mixer. Alternatively, you can use a crossover to split the audio signal based on frequency range and connect each amplifier to handle a specific frequency range.
Does A Crossover Improve Sound Quality?
Yes, a crossover can improve sound quality by ensuring that each amplifier and speaker is handling the appropriate frequency range, reducing distortion, and improving the overall clarity and balance of the audio signal.
However, it’s important to set the crossover frequency and slope correctly based on the speakers and amplifiers being used.
Conclusion
connecting a crossover to two amplifiers is a great way to improve the sound quality of your audio system, especially if you’re using bi-amped or tri-amped speaker systems.
By using a crossover, you can ensure that each amplifier and speaker is handling the appropriate frequency range, reducing distortion and improving the overall clarity and balance of the audio signal.
The process of connecting a crossover to two amplifiers may seem daunting at first, but with the right equipment and following the step-by-step instructions, you can easily achieve a high-quality audio setup.
So, whether you’re a music enthusiast, a DJ, or a professional sound engineer, consider using a crossover and multiple amplifiers to take your audio system to the next level.
Also Read: